Coffee Kombucha
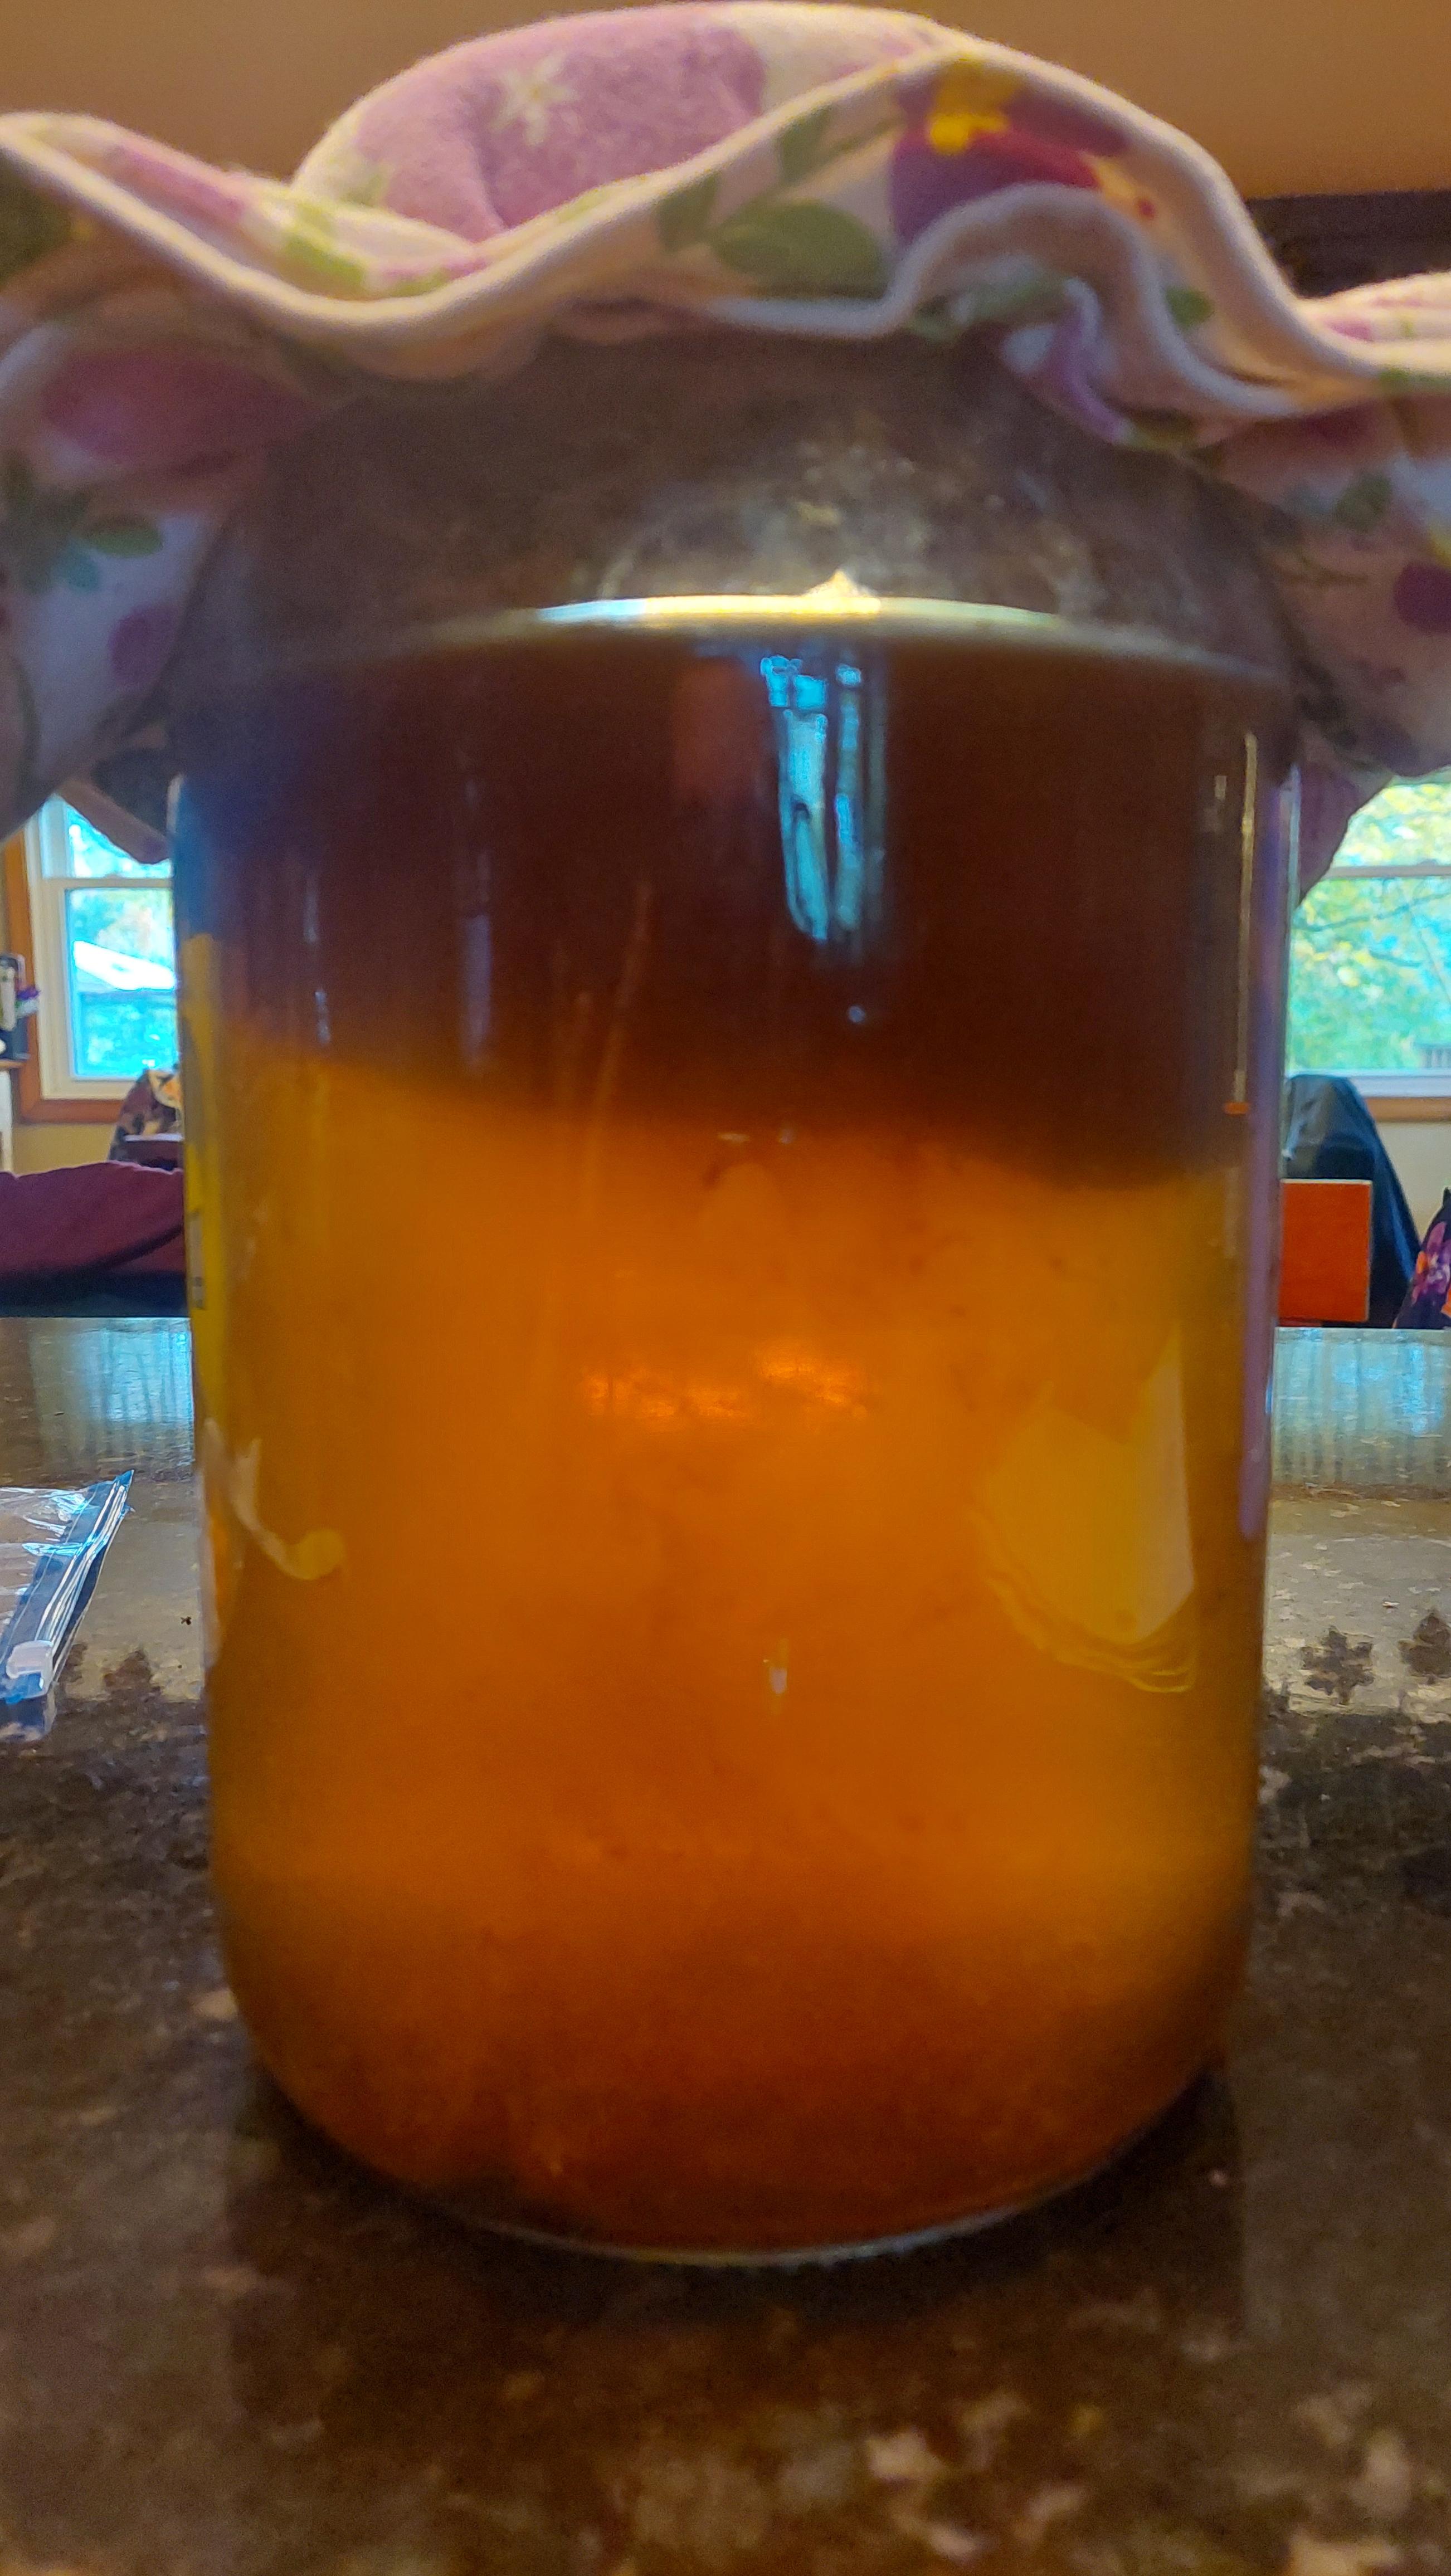
Kombuffee, Koffucha, or… Coffee Kombucha?
You may be familiar with kombucha. You’ve probably heard of Jun tea as well. Both are delicious fermented teas brewed using different food sources for the scoby “mother” culture such as cane sugar (kombucha) or raw honey (Jun) which fuels the release of those gut-friendly bacteria and probiotics during fermentation.
A variety of teas can be used during a first ferment including (but not limited to) black tea, green tea, white tea, and pu-erh. And while it’s not recommended (due to complex oils & compounds that may put strain on the scoby), a variety of herbs can be used as well, even coffee beans!
But have you heard of coffee kombucha? Also known as “Koffucha”… or is it “Kombuffee”? 
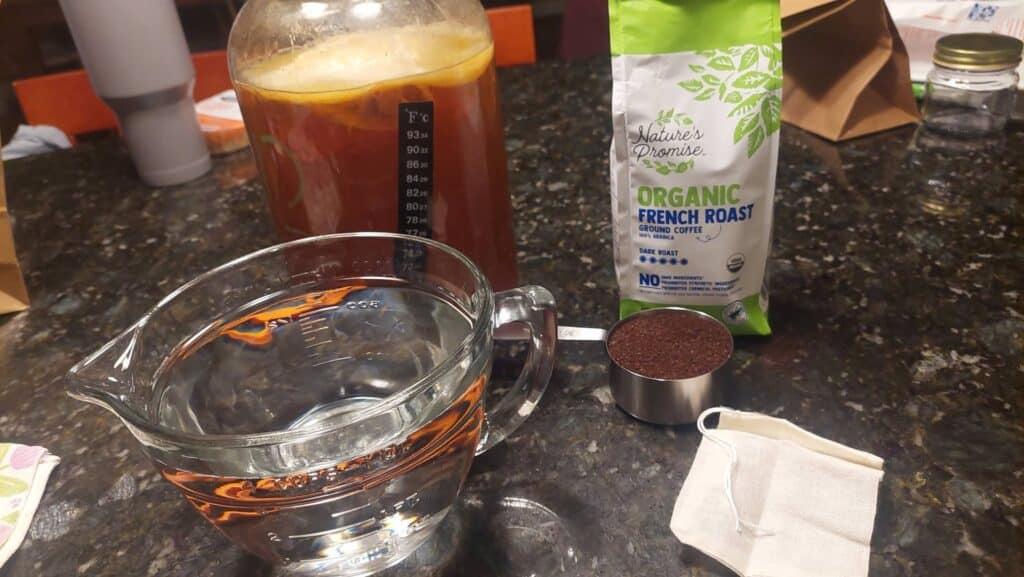
Coffee Kombucha… What is that?
It’s a unique kind of kombucha that really came about in the 2010s with the rise of DIY-Fermentation communities and became part of the mainstream in 2018 as seen in the acclaimed “The Noma Guide to Fermentation” (which Ryan was gifted from one incredible customer). Sweet, sour, bitter, fizzy, and a variety of other flavor profiles describe this brew, so naturally we became curious ourselves!
A Simple Recipe for Making Coffee Kombucha
It’s our first time trying our hands at it as an experiment, so here we go. Here’s a rundown of brewing a first ferment of Koffucha.
1-2 cups strong starter liquid of kombucha +a healthy scoby
1/2 cup of coffee (we used ground organic French roast)
4 cups filtered water boiled + 8 cups additional water
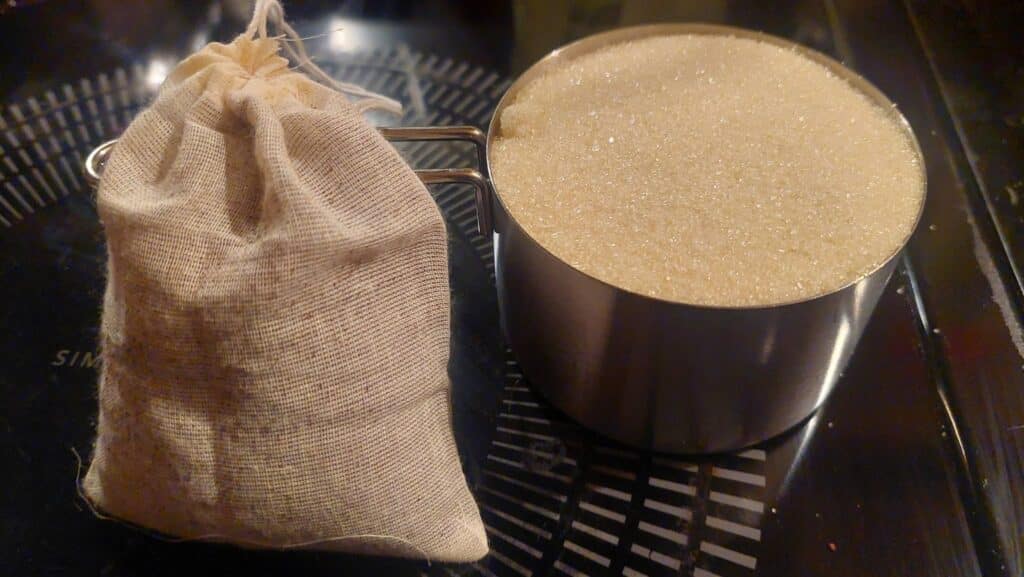
1 cup sugar (we used organic cane sugar)
While cold brew is the preferred method, we used a pot of boiling water to steep our coffee in a cotton tea bag for 4-5 minutes after shutting off the heat and letting the water rest for a minute before adding the grounds. We then remove the coffee grounds and stir in the sugar til it dissolves.
Then we add the brewed sweetened coffee to our 1 gallon fermentation vessel and add an additional 8 cups cold filtered water. We let the liquid sit til it reaches a desirable temperature (below 85°F) and add 1-2 cups starter liquid as well as the “mother”. Let’s check our brew after 7 days and again after 14 to reach the optimal acidic profile.
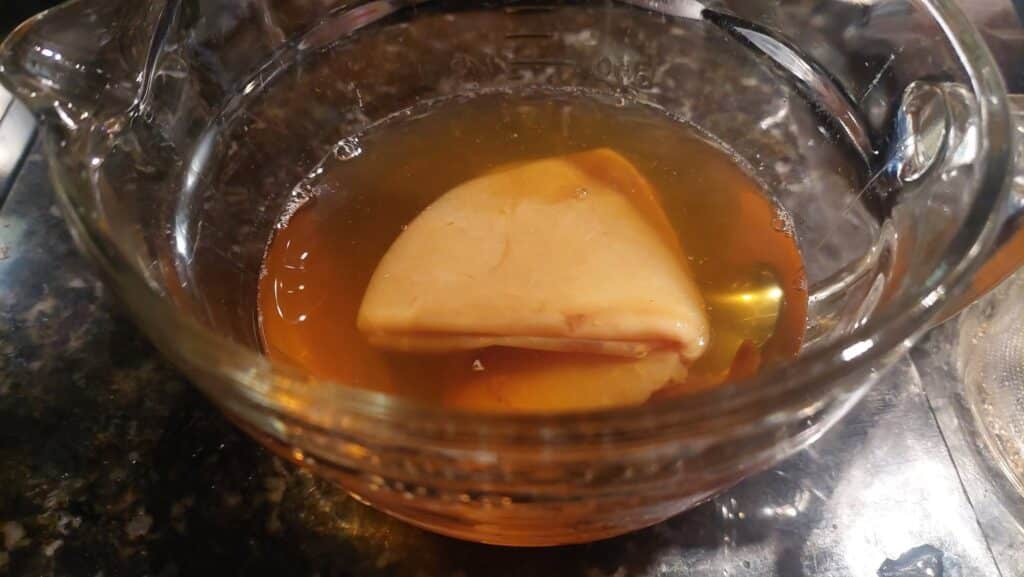
Whenever we tread new grounds, we set 2 cups starter liquid aside as insurance if something were to be off with our batch, because even one misstep can cause a brew to go bad. Even seasoned brewers know it’s important to take precautions!
Not even familiar with what kombucha is? Read about it here! Thank you for reading this far and hope you’ve learned something new. Cheers!