
Whether to Second Ferment or Not
For kombucha brewers out there, just brewing the first fermentation; the process of brewing the tea, adding the sugar, dropping in the scoby, and finally setting and forgetting it – aren’t enough. Okay, we definitely don’t recommend forgetting about your ‘buch! For many kombucha brewers, flavoring is the real fun part of kombucha brewing, at least we at Bucha Bros, LLC believe so. In a previous post, we discussed the steps it takes to perform a first fermentation, if you haven’t read it, check it out here. In this post, if you could have guessed, we will discuss the process of second fermentation and some possible flavor ideas. To simplify, we will refer “second fermentation” as “F2”.
Choosing the Best Bottles for F2
You’ve waited seven to ten days and are ready to bottle your ‘buch; what comes next? We begin by deciding how we want to store our finished first fermentation. If you started out with brewing a one-gallon jar, then it’s a good idea to invest in at least six durable bottles that can withstand pressure. This is because the yeast that feeds on the leftover sugar within the bottle of kombucha releases both ethanol and carbon dioxide.
There are a few factors to consider when choosing bottles to store your finished kombucha:
Is it durable?
Is it translucent and can light easily get into it?
Can it hold pressure?
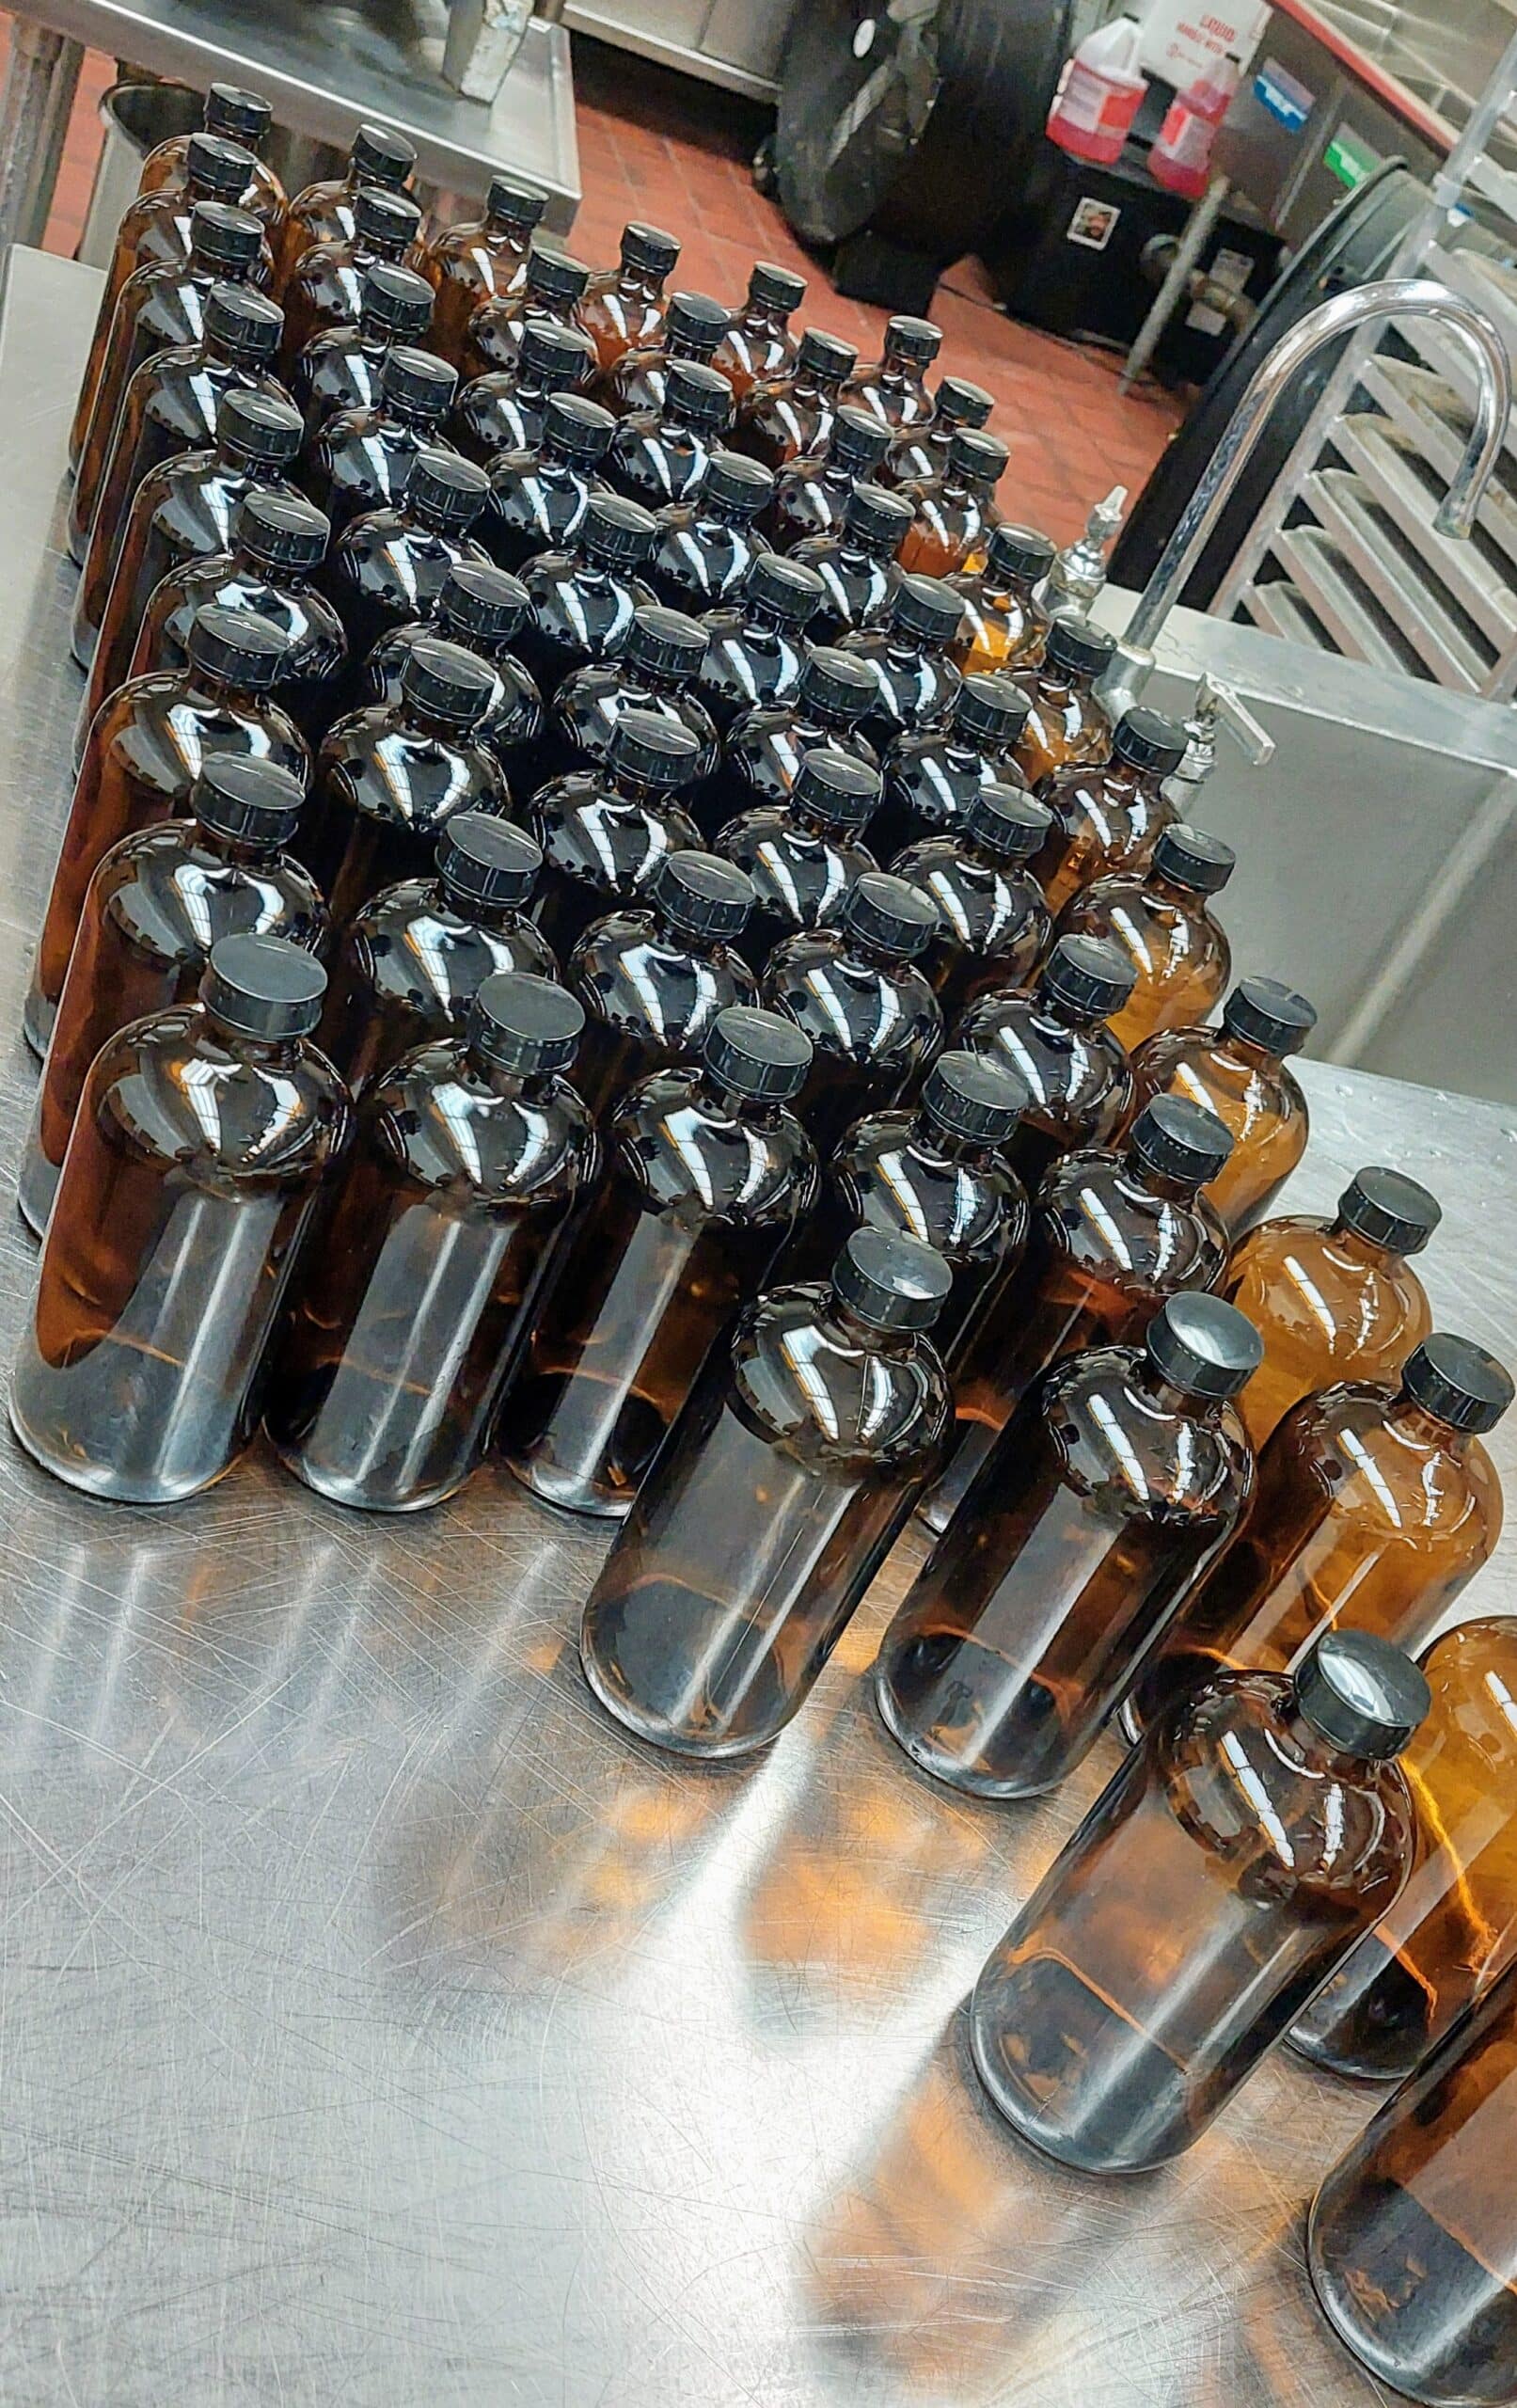
These are just a few important factors. We at Bucha Bros highly recommend starting with six glass bottles with a long neck that comes with either a flip top or plastic screw cap. You may also consider bottles with a small mouth with a screw-on cap also called Boston round . Why is that important? Plastic bottles are mediocre and have the chance of exploding if the brewer isn’t being careful. More on that in a bit. During F2, we will be building pressure in the form of carbonation for our ‘buch. So plastic bottles are out, and we also would not recommend using mason jars.
Mason jars are wonderful for bottling homemade jams and holding dried nuts and beans, however, they have a wide mouth and do not allow F2 kombucha to carbonate very well. With the pressure build up, most of that air escapes, leading to nearly flat-tasting kombucha. Nothing necessarily wrong with having little or no carbonation, but if the goal is to add a nice bit of bubbles, then you need to block the air from escaping the bottle. The best choice you can make is a long neck flip-top (as stated before), however those can be pricey. Bucha Bros uses amber, food-grade glass Boston Round bottles with screw-tops that are very attractive and get the job done.
Beginning Second Fermentation (F2)
Now that you chose your bottles and are ready for F2, make sure you have a funnel to pour from the vessel to the bottles. We also highly recommend getting a rubber mouth guard for your brew vessel, as it will help exponentially with pouring without making a giant mess of spoiled kombucha everywhere; we’re talking about the countertop, your shirt, and just about everywhere!
The first step of F2 goes as follows: remove the cloth cover from the top of your brew vessel and take your scoby out, preferably with rubber tongs, along with 1-2 cups of starter liquid (fermented tea reserved from F1). You will need to temporarily place the scoby and starter liquid in a glass bowl big enough to hold the culture and liquid. Do not, and I mean do not use metal to hold your scoby between fermentations unless it is stainless steel and food-grade; otherwise it will corrode the metal and microchemicals will seep into the starter liquid.
Next step: pour the remaining liquid into your bottles; you should have about six bottles with 1-2 inches of headspace full of the finished F1 kombucha. Please note that if you do choose to flavor, it will be important to leave adequate room to add your fruit or herbs. We honestly add our “booch boosters” (more on that in a bit) before pouring in the fermented tea, but either way is just fine.
The last step is either to just straight-up allow that plain flavor to carbonate or instead adding flavoring to it. We personally just about always go to flavoring our F2.
This is truly the best part of the whole process in my sole opinion, flavoring your kombucha. There is an absolute infinite amount of flavoring ideas a home-brewer can do, the possibilities are literally endless. So what we mean by flavoring starts with the creation of “‘booch-boosters”. What the heck is a ‘booch-booster? Well, it’s a set of ingredients you put together to help carbonate and flavor your kombucha during F2.
Flavoring Your ‘Buch
Now that you have your bottles ready to go, you can:
Add fruit, small enough to slip in and out of the top of the bottle.
Add more sugar for a sweeter ‘buch. Yeast will feed on the additional sugar and built carbonation.
Add different herbs and spices. This gives the kombucha a floral, even savory taste.
Once you have your booch-boosters in your bottles and ready to go, the next step is sealing the bottle, or rather putting the cap on. We let it sit for 3 to 7 days, depending on what flavors you use. It is important to leave your bottles outside of the fridge and on a countertop instead, preferably where you keep your kombucha brew vessel during F1.
Fruit Or Herbs in Your F2
With fruit, we find, at Bucha Bros, LLC, that fruit flavors work well with a black tea kombucha base, because the strong black tea compliments fruity flavors. So I may take 2 tablespoons or a quarter cup of chopped strawberries and put them in my 12-16 oz. bottle if I am going for a delicious strawberry flavor. Fruit often adds sweetness to finished F2 bottles. The yeast will feed on the sugars from the fruit and release carbonation as a result.
There is no try and true amount, so try a little bit at a time and see if the results are to your taste. With herbs, a little goes a long way. Even just a quarter to a half teaspoon of, for example, sage, can give your kombucha a nice herbal flavor. We believe a combination of green tea and black tea works best with herbal flavorings, as the mild flavor of green tea allows the flavor of the herbs to shine.
Does fruit go bad in kombucha? Well, we don’t recommend keeping the chunks of fruit in the bottles of kombucha for long-term, rather, more than 7 to 14 days. However, some home-brewers have reported leaving fruit in for weeks and they don’t seem to go bad too quickly, still, we rather brew it safe.
Candied ginger is a secret ingredient among many brewers that really helps carbonate kombucha; any added sugar helps feed the yeast and therefore boosts carbonation as a result. Fruit is made of sugars, so this gives the yeast within the ‘buch the ability to carbonate. For fruity flavors, we find that 3 to 7 days works just fine in developing the flavor.
For herbal flavors, I do not recommend more than 2 to 3 days, because certain flavors such as mint or lavender can become rather intense the longer you let them sit, and not in a good way. Imagine having kombucha taste like toothpaste or soap! That is precisely why it is important to get the optimal amount of days fermenting during F2. We will go into deeper discussion on flavoring kombucha in another article.
Considering Length of F2
Length is important to consider when letting your F2 ferment. The longer you let your bottles sit out, hopefully around the same temperature that you kept your kombucha, between 70 and 85°F, the more sugar will be consumed by the yeast and as a result more carbonation will develop. Letting the kombucha go through F2 allows oxygen between the cap and the fermented tea to sink into the liquid and form those rich bubbles we aim for.
Depending on how you flavor your F2 bottles will determine the length your bottles continue to ferment. Herbal brews develop strong flavors quickly and don’t need more than 2 to 3 days flavor. Fruity brews have more sugar content to work with (due to fruit containing sugar in the form of fructose) so they can sit out longer, between 3 to 7 days to fully develop flavor. Its also important to note that the pH of the brew continues to drop each day, which is why we typically don’t recommend undergoing F2 for more than a week. The brew may become more tart over time due to sugar being consumed.
Burping and Finishing Up F2
There is controversy among kombucha brewers whether it is necessary to “burp” your kombucha bottles. If you fear that your kombucha may erupt when you pop the cap off after several days sitting, then you may open your bottle once each day to let that air out. However, you might say that this defeats the purpose of letting the brew carbonate in the first place, as the yeast works hard to develop those bubbles for your ‘buch.
The real solution to this issue is what we call a “cold crash”. Brew-master Ryan cold-crashes when he comes inside after a long day during the winter (only occasionally). Cold crashing is when you place your bottles directly into the fridge (without opening the bottles), after you’re satisfied with the length of time they’ve sat out for. You give the bottles a few hours to sit and chill in the fridge, and the bubbles should not be harsh enough to explode, and the flavoring should settle at the bottom, meaning it will be easier to strain later on.
Once you are ready to finish F2, we recommend using a coffee filter (or mesh filter or cheesecloth) between a funnel to strain your ‘buch of the used-up booch-boosters. We recommend using at least a bowl or four-cup measuring cup you used in F1 to hold the liquid that you’re pouring from the bottle.
When you have all the fruit and herbs and built-up yeast strands in the funnel and mesh filter, like the one we use here at Bucha Bros, you can toss out or up-cycle the waste, then filter the finished F2 kombucha back into the same bottle, once you have thoroughly cleaned them, that is. Voila, you are ready to enjoy your hard-earned homebrewed kombucha! Just remember to store refrigerated so fermentation doesn’t start back up again.
Shelf-Life of your ‘Buch
How long does refrigerated kombucha last? “Infinitely!” is what we’d like to say, however chilled kombucha does last for at least a few months without losing flavor. It needs to stay refrigerated and not left out for more than two hours nor be frozen, otherwise the fermentation process will start up once again (or the cold will kill the yeast). If there is any remaining sugar within your finished kombucha, there is a surefire possibility that bits of yeast will develop at the bottom of your brew. This is completely normal.
In fact, these yeast strands are probiotics, healthy and edible, however we understand that most drinkers will be put-off by seeing this development in their bottles. One solution is to strain your kombucha through your desired filter with the funnel once again, and continue to enjoy your kombucha. It is full of healthy probiotics which are alive and very good for the gut, so we find that pasteurization and additives are completely unnecessary. Pasteurization really destroys the entire operation (in our opinion) if you choose to go with that route and rid the kombucha of that good, good yeast.
Depending on the ingredients used to flavor, we’ve personally found that just letting the kombucha chill in the fridge for a few weeks calms the yeast down, so you may not even need to filter it. Also, if you find that the flavor has faded or become far too tart, or you even notice mold, then we’d recommend tossing it out.
Final Thoughts
I understand this post went all over the place with trying to explain such a simple process, however we swear that each aspect is important to understand. We repeat that we will not discuss particular flavors in this post, however we encourage you to try different flavors out and email or message us with your results. We would love to hear from you! Check out our selection at https://buchabros.com/. Thank you for reading and we hope you find great success with you kombucha brewing.